Adding a deck to your home is one of the best ways to create a functional and inviting outdoor space. Whether you’re envisioning a cozy spot for relaxing or an area for entertaining guests, building a deck can transform your backyard. While it may seem like a daunting task, with the right approach and knowledge, even beginners can tackle a deck installation project. In this guide, we’ll walk you through the step-by-step process of the installation, covering everything from planning to final touches.

Step 1: Planning and Designing Your Deck
The first and most critical step in any deck installation project is proper planning. Before grabbing your tools, take time to visualize what you want your deck to look like and how you’ll use it. This phase includes deciding on the layout, size, and materials.
Considerations for Planning Your Deck:
- Deck size: How much space do you need for activities like lounging, dining, or barbecuing? Consider the available space in your yard and how much of it you want to dedicate to the deck.
- Deck location: Choose a location that complements your home and landscape. Ensure it’s easily accessible from your home and offers good views or privacy as needed.
- Design elements: Think about the deck shape (rectangular, L-shaped, etc.) and features like built-in seating, planters, or steps.
- Material selection: Deciding on materials is crucial for both the aesthetics and durability of your deck installation. Popular options include composite decking, plastic decking boards, and traditional wood, each offering unique benefits in terms of appearance, maintenance, and longevity. Choose the material that best suits your style and long-term needs.
Choosing Decking Materials:
- Composite Decking: A popular choice for its low maintenance, durability, and resistance to weather. Composite deck boards come in various colors and textures, offering a wood-like appearance without the need for staining or sealing.
- Decking Wood: Wood decking offers a classic look, but it requires regular maintenance to prevent rot, warping, and splintering. Pressure-treated wood, cedar, and redwood are common options.
- Plastic Decking Boards: These are another low-maintenance alternative. Made from PVC or recycled plastic, they are resistant to moisture and insect damage, making them ideal for wet climates.
Step 2: Obtaining Permits and Preparing the Site
Once your design is finalized, check with your local building department to see if you need a permit for your deck installation. Most cities require permits for decks over a certain height or size, and it’s essential to ensure your deck complies with local building codes.
Site Preparation:
- Clear the Area: Remove any grass, plants, or debris from the area where your deck will be installed.
- Level the Ground: If your yard isn’t level, you’ll need to level the ground to ensure a stable foundation. You may need to excavate or use fill dirt to create a level surface.
- Mark the Layout: Use stakes and string to outline the perimeter of your deck. This will help you visualize the space and serve as a guide during installation.

Step 3: Building the Deck Frame
The deck frame provides the structure and support for your entire deck, so it’s crucial to get this step right.
Materials Needed:
- Pressure-treated lumber (for framing)
- Joist hangers
- Lag bolts
- Deck screws
Steps to Build the Deck Frame:
- Install the Ledger Board: The ledger board is attached to your house and supports one side of the deck. Use lag bolts to securely fasten it to your home’s structure.
- Set the Posts: Install vertical support posts in the ground, ensuring they are plumb (straight) and securely set in concrete footings. The number and spacing of posts will depend on the size of your deck and are crucial for a solid deck installation. Properly installed support posts ensure the stability and longevity of your deck.
- Attach the Beams: Once the posts are set, attach horizontal beams that will carry the load of the deck. Secure them to the posts using metal brackets or carriage bolts.
- Install the Joists: Joists run horizontally between the ledger board and the beams, providing support for the decking boards. Attach the joists using joist hangers and make sure they are evenly spaced (typically 16 inches apart).
Step 4: Laying the Decking Boards
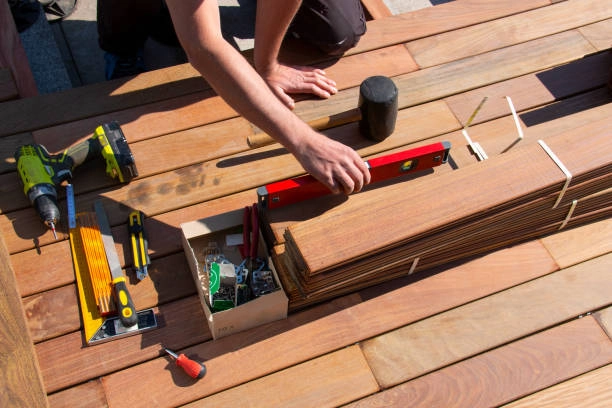
With the frame in place, it’s time to lay the decking boards. Whether you’re using composite decking, plastic decking boards, or traditional wood, the process is generally the same.
Steps to Install Decking Boards:
- Start at the House: Begin laying the decking boards at the ledger board and work your way out toward the edge of the deck. Ensure the first board is straight and level, as this will set the foundation for the rest.
- Leave Space Between Boards: Leave a small gap, typically around 1/8 inch, between each board to allow for expansion and proper drainage during your deck installation. Many composite deck boards come with built-in spacers that make this step easier, ensuring your deck remains durable and well-ventilated over time.
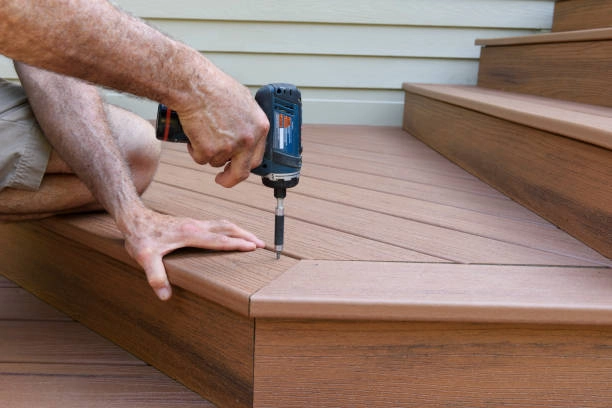
- Secure the Boards: Use deck screws or hidden fasteners to attach the decking boards to the joists. Hidden fasteners create a cleaner look, as no screws are visible on the deck surface.
- Cut to Fit: Use a circular saw to trim the edges of the decking boards to fit the frame.
Step 5: Adding Railings and Finishing Touches
If your deck is elevated or you simply want added safety, installing railings is an important finishing touch.
Installing Railings:
- Attach the Posts: If not already installed, attach railing posts to the deck frame. These posts will serve as support for your railing system.
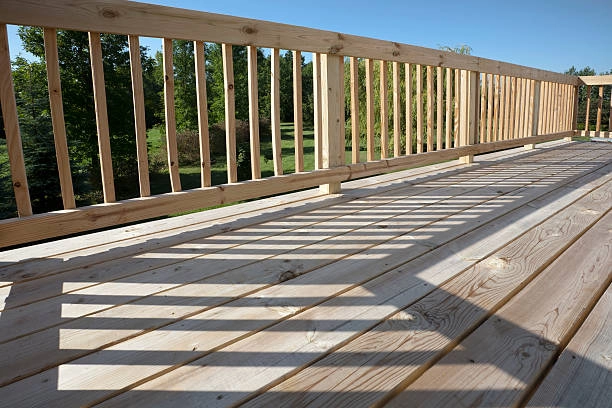
- Install the Balusters: Balusters are the vertical pieces that fill in the space between the railing posts. Attach them evenly along the railing.
- Add the Top Rail: Once the balusters are in place, install the top rail to connect the posts and provide a finished look.
Additional Finishing Touches:
- Steps and Stairs: If your deck is raised, you’ll need to build steps or stairs for access.
- Skirting: Add skirting around the bottom of the deck to hide the frame and give it a more polished appearance.
- Sealing: If you use natural wood, apply a sealant to protect it from moisture, UV rays, and insects. Composite and plastic decking boards typically do not require sealing.
Step 6: Enjoy Your New Deck!
After completing all the construction steps, your deck is ready for use! Whether you’re hosting a barbecue, enjoying a quiet evening outdoors, or simply adding value to your home, a well-built deck is a perfect addition to any property.
Why Choose Bayside Home Improvement for Your Deck Installation?
At Bayside Home Improvement, we specialize in custom installations customized to meet your specific needs and preferences. With over 10 years of experience in the construction industry, our skilled team delivers high-quality craftsmanship that ensures your deck is not only beautiful but also built to last.
Why Work with Bayside:
- Experienced Professionals: Our licensed and insured team brings expertise to every project, ensuring your deck is installed safely and efficiently.
- Personalized Design: We work closely with you to create a deck that complements your home and suits your lifestyle.
- Top-Quality Materials: From composite decking to premium wood, we use only the best materials to guarantee durability and aesthetic appeal.

In conclusion, building a deck can transform your outdoor space into a beautiful and functional area for relaxation or entertaining. With the right planning, materials, and guidance, even beginners can tackle this rewarding deck installation project. From designing and obtaining permits to laying decking boards and adding finishing touches, each step is an essential part of the process. At Bayside Home Improvement, we take pride in making this journey smooth for you by offering expert craftsmanship and personalized designs. Ready to enhance your home with a custom deck? Contact us today, and let’s create a space you’ll enjoy for years to come.
Frequently Asked Questions
- What are the advantages of using composite decking for my deck?
Composite decking is a popular choice due to its low maintenance and long-lasting durability. Unlike wood, composite deck boards resist weathering, rot, and pests. They also don’t require regular staining or sealing, making them an excellent choice for homeowners who want a hassle-free option. - How do I choose between decking wood, composite deck boards, and plastic decking boards?
Each material offers unique benefits. Decking wood provides a classic look but requires more maintenance. Composite deck boards mimic wood and are low maintenance, while plastic decking boards are moisture-resistant and ideal for areas with high humidity. Your choice should depend on the aesthetics, climate, and level of maintenance you’re comfortable with. - What should I consider when hiring a decking contractor?
When choosing a decking contractor, look for experience, licensing, and positive reviews. It’s also important that they understand the materials you want to use, whether it’s composite decking, wood, or plastic options. Make sure they can provide a clear estimate and timeline for your project. - Do I need to leave gaps between the boards during the decking installation?
Yes, leaving a small gap (around 1/8 inch) between boards is essential during installation. This allows for expansion and proper drainage, which is particularly important for composite deck boards and plastic decking boards, ensuring your deck remains in good condition over time. - How does the material affect the cost of the decking installation?
The cost of your deck installation depends largely on the materials you choose. Decking wood might be less expensive upfront but requires more maintenance over time. Composite decking and plastic decking boards, though higher in initial cost, are more durable and need less upkeep, making them more cost-effective in the long run. - What’s the difference between composite decking and plastic decking boards?
Composite decking is made from a blend of wood fibers and plastic, giving it a more natural look and feel, whereas plastic decking boards are entirely synthetic. Both are resistant to moisture, but composite boards often have a more wood-like appearance and texture. - What should I expect from the decking installation process?
The installation process involves several steps, including planning, securing permits, site preparation, building the frame, laying decking boards, and adding railings or finishing touches. Your decking contractor will guide you through each phase to ensure everything is done correctly and efficiently.

